How to get started with Kasoko
What is Kasoko?
Kasoko is a collection of software tools that work together to help you run your businesses efficiently and seemlessly. The main component of the Kasoko platform is the inventory management system which gives you an online dashboard to help you run your shop by recording the day to day activities in your shop like sales, expenses, payroll, debt, purchases and so on. Other components of the Kasoko platform include:
- Content Management System
- Customer Relationship Management System
- Queue Management System
- E-commerce solutions
- School Management System
- Hospital Management System
- Restaurant Management System
If you haven't already signed up for Kasoko, do so here:
Get Your Business ConnectedSign Up
Step One
Go to the sign up page and fill out the form with your details.
Here are the details you need to provide:
- Your Name
- Your Email Address
- Your Phone Number
- Your Password - Must be at least 8 characters
Click on the
Sign Up
button.
Step Two
Next, you need to provide your business' details. Here are the details you need to provide:
- Business name
-
Business username - This is the username of your business in Kasoko and is how customers can find your business on Kasoko. Your business will get its own page at
kasoko.co.ke/usernamewhereusernameis the username you provide here. Your business' products and services will be listed here. - Business type - Select from the dropdown. We will use this to load the right module for your business.
- Tagline - Your business motto. This will appear on your business' page on Kasoko
- Description - Tell your potential customers what your business does. This will appear on your business' page on Kasoko.
- Logo
- Main Location
Don't worry, you can edit these details later by clicking on
Settings
on the sidebar menu and then clicking on
Edit Account
under the
Account Settings
section.
Set Up Account
Depending on the type of your business, there are steps that you need to follow.
After signing up, you are automatically redirected to the setup page.
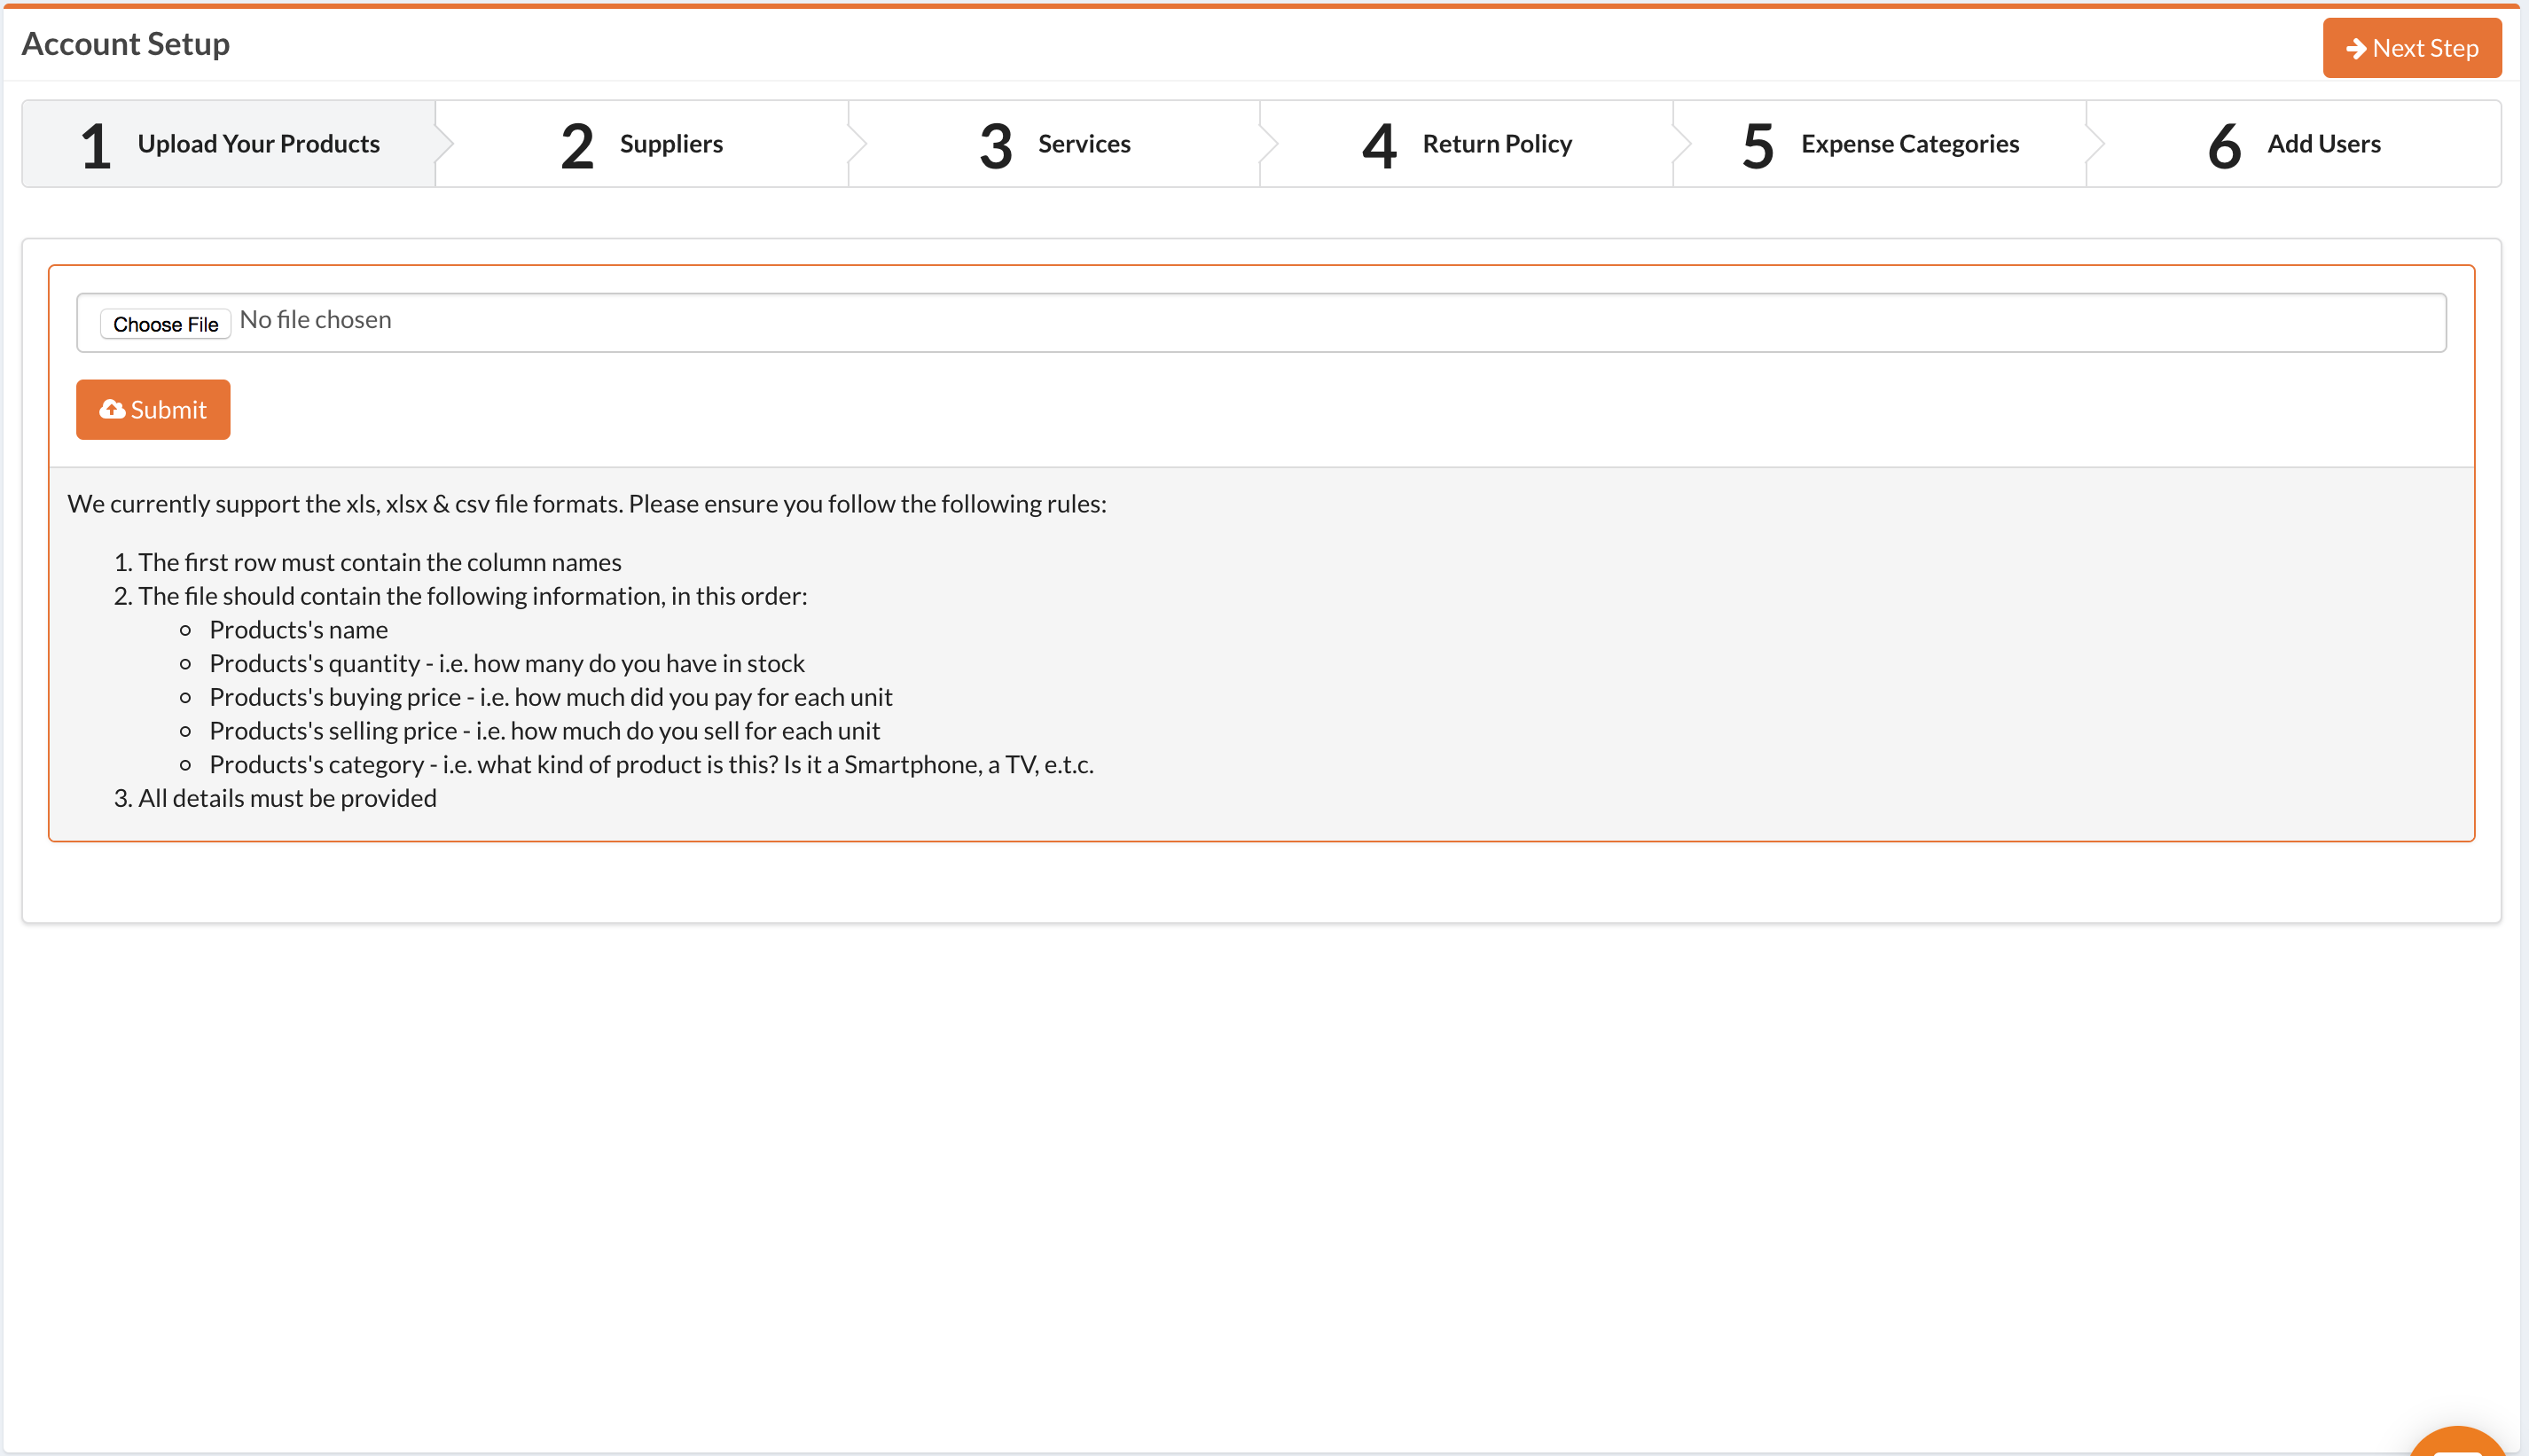
The steps below apply to shops that sell products:
1. Upload your products
Here, you can upload a file containing a list of all your products. The system will be able to populate the products for you.
2. Add Your Suppliers
Here, you can add a list of your suppliers. The following details are required:
- Supplier's Name
- Supplier's Email
- Supplier's Phone Number
When you fill out these details, click on the
Save
button. You will be redirected back to the same page so that you can add another supplier if you want. When you are done adding suppliers, move to the next step by clicking on the
Next Step
button on the top right side.
3. Add Services You Offer
Here, you can add a list of the services your business offers. The following details are required:
- Service's Name
- Service's Price - How much you charge for this service
- Service's Description - What is this service about?
When you fill out these details, click on the
Save
button. You will be redirected back to the same page so that you can add another service if you want. When you are done adding services, move to the next step by clicking on the
Next Step
button on the top right side.
4. Create A Return Policy
This section lets you define the rules for handling sale returns. This will mostly apply if you are going to be selling online. This will be displayed on your Kasoko page. The following details are required:
- Return Period - The number of days a customer can notify you for wanting to return an item after they received it
- Refund Type - Choose whether you will be refunding the customers or exchanging products for them
- Who will pay for the return shipping? - Choose between Customer and Business
When you fill out these details, click on the
Save
button. You will be redirected to the next step.
6. Add Employees
Here, you can add a list of your employees. Each of these employees will have a Kasoko account set up for them and will be able to log in to your Kasoko business account and help you manage it. They will not be able to access certain parts of the system. They will receive an email with a password they can use to log in to Kasoko. The following details are required:
- Employee's Name
- Employee's Email
- Employee's Phone Number
- Employee's Salary - This will help you later when managing your payrol
- Employee's Address
When you fill out these details, click on the
Save
button. You will be redirected back to the same page so that you can add another employee if you want. When you are done adding employees, complete the setup wizard by clicking on the
Complete Setup
button on the top right side.
Done!
Congratulations! Now, your account is all setup and you are ready to start using it. What is next?
Follow the links below to find more resources on how to use Kasoko:
Thank you for joining the Kasoko community. If you have any questions, you can write to us at
support(at)kasoko.co.ke
or by using the live chat widget at the bottom right of this page.